How to update drive firmware using the ThinkSystem System Manager for DE Series storage GUI
How to update drive firmware using the ThinkSystem System Manager for DE Series storage GUI
How to update drive firmware using the ThinkSystem System Manager for DE Series storage GUI
Description
This article introduces the procedure used to upgrade your drive’s firmware using ThinkSystem System Manager (TSM) for DE Series storage GUI. You should regularly upgrade the drive’s firmware to make sure you have all the latest features and bug fixes.
Before proceeding, ensure that all the data has been backed up properly, that the storage array and all drives have an Optimal status, and that no configuration changes are running on the storage array.
Applicable Systems
ThinkSystem DE Series Storage Arrays
Procedure
- Download the firmware update file from the Lenovo DCG Support Web site.
a. Navigate to https://support.lenovo.com
b. Enter a valid DM Series machine type in the search box and select the page for the machine type.
c. Select the Drivers & Software tab.
d. In the Warranty check area in the top right corner, enter a valid DM Series serial number.
e. Expand the Product Firmware option.
f. Download the desired Drive Firmware Update Bundle.
g. In this example, we will use Lenovo ThinkSystem DE Series Drive Firmware Update Bundle-Version: 1.06.
h. Extract the downloaded ZIP file to a folder on your management client.
- Log in to TSM GUI using the Web browser, the admin account, and password.
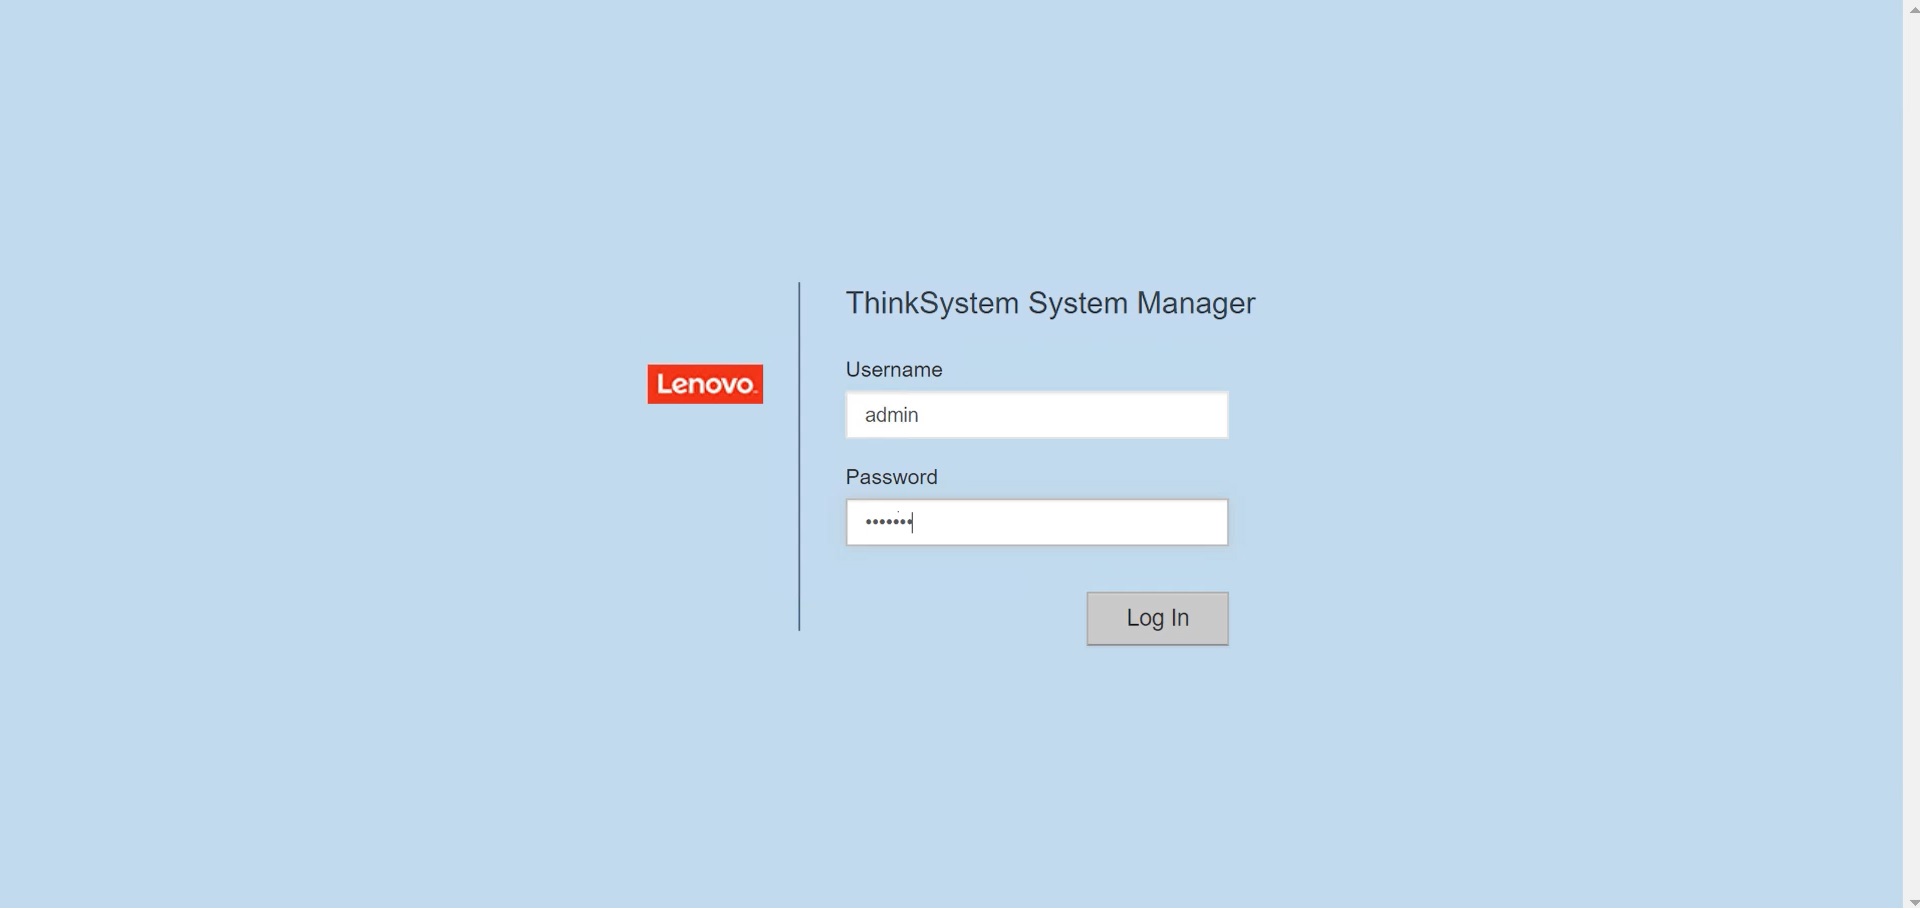
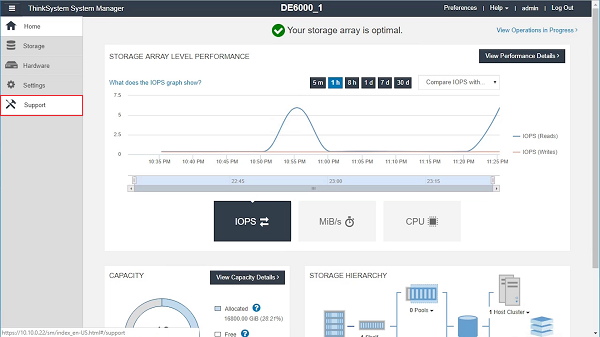
- Select Support on the left-hand side of the screen.
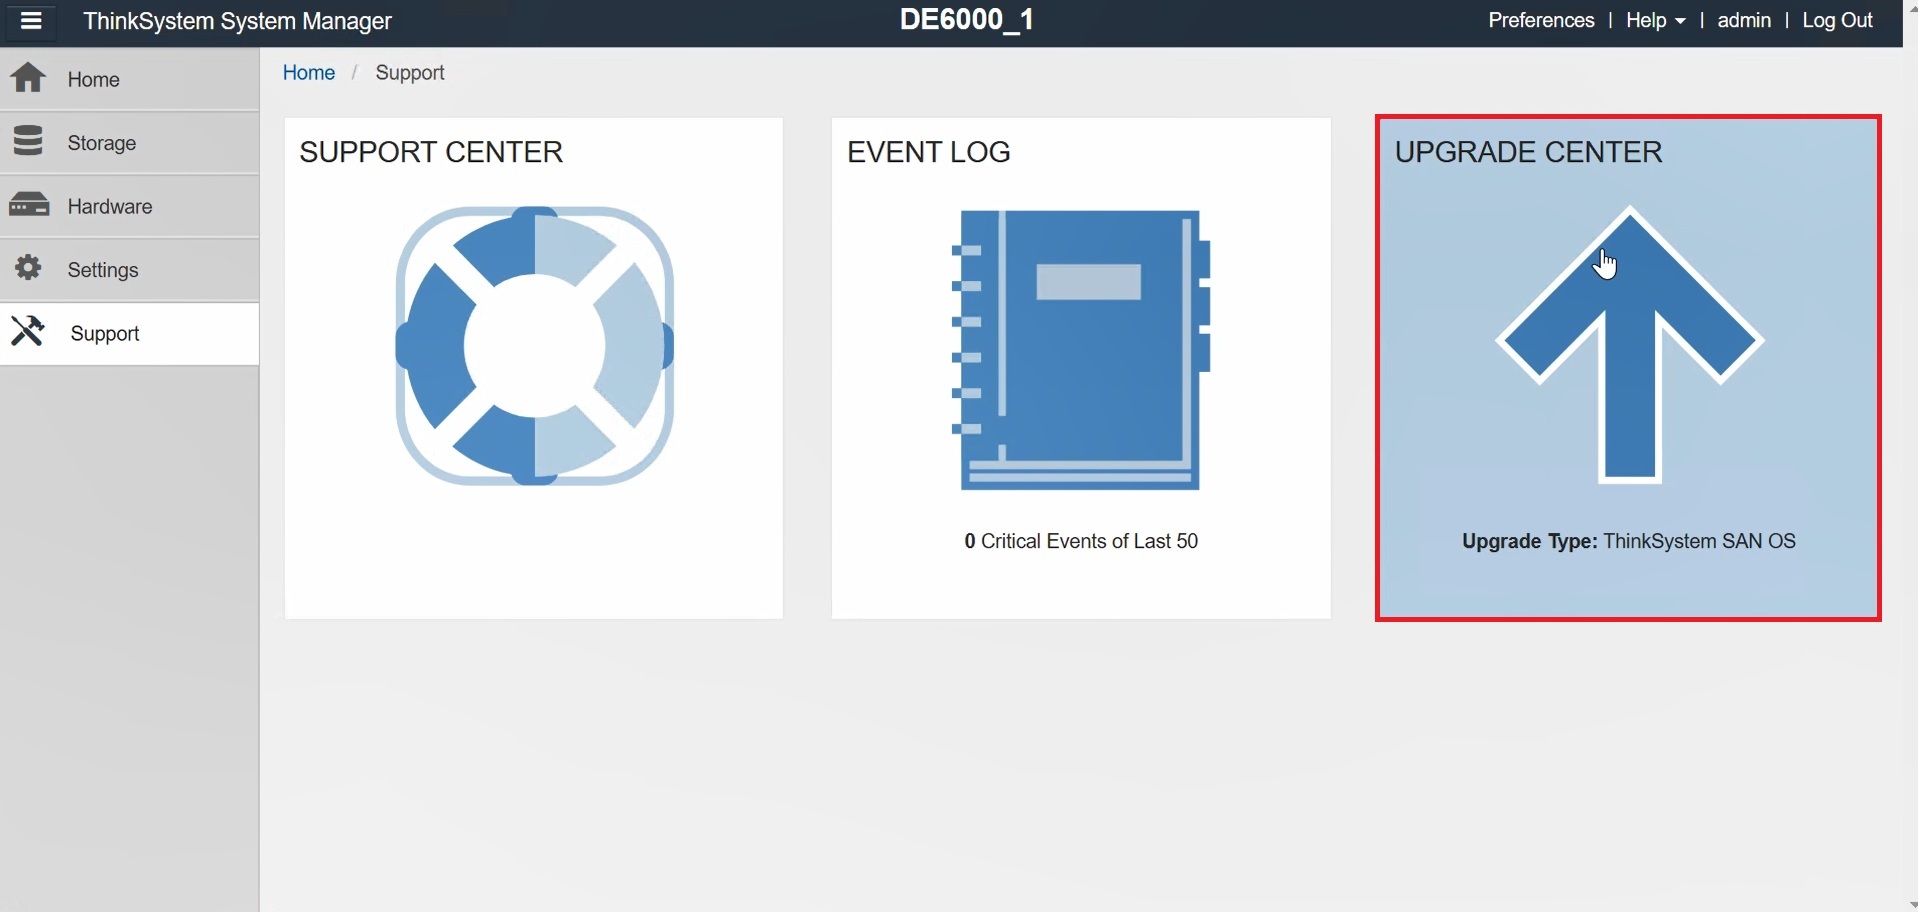
- Click UPGRADE CENTER.
- Under Drive Firmware upgrade, click Begin Upgrade.

- A dialog box will be displayed listing the drive firmware files currently in use. Click Browse, and then select the new drive firmware files from the folder where they were extracted.
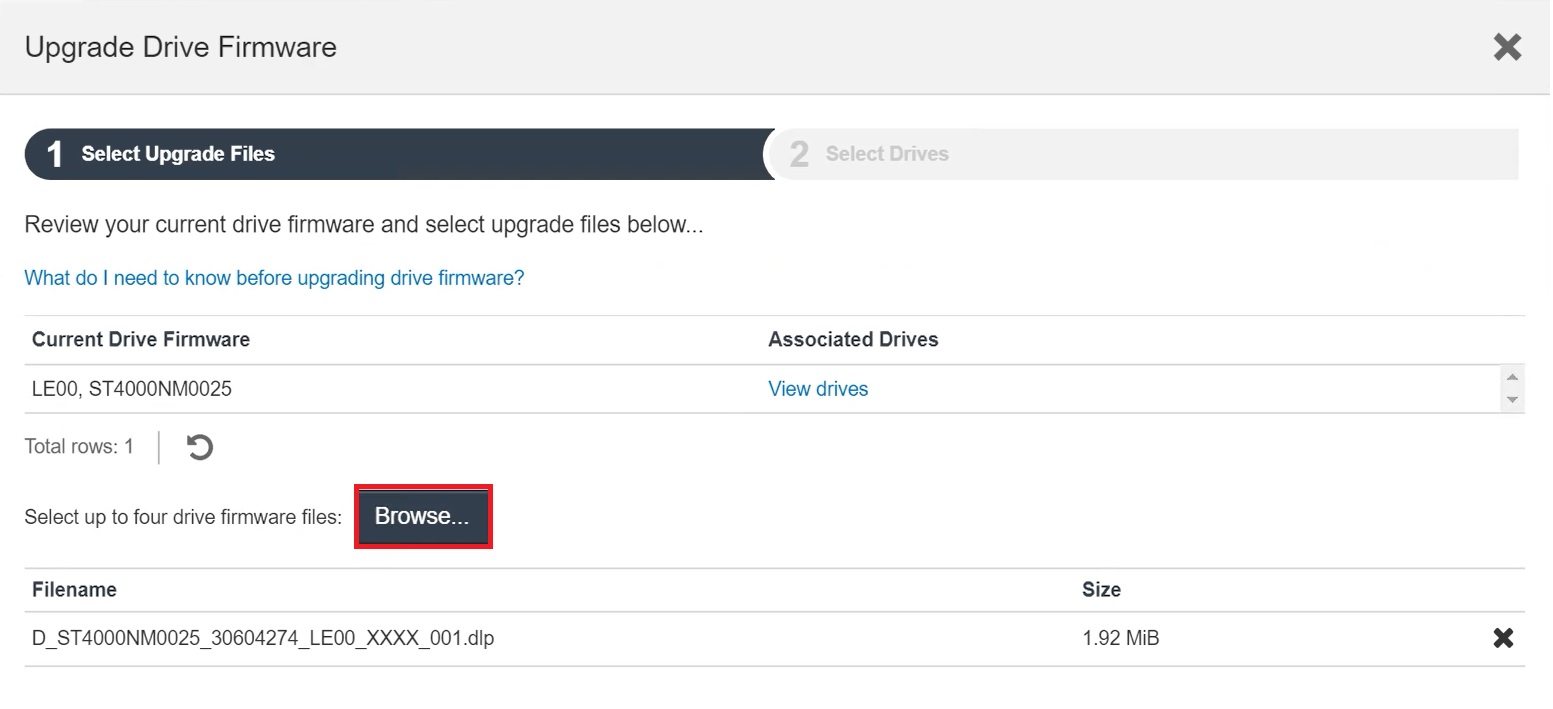
Note: Drive firmware files have a .dip extension, and filenames use the following format: D_HUC101212CSS600_30602291_MS01_2800_0002.
- Click Next.
- The Select Drives tab will be displayed and will include a list of the drives that can be upgraded with the selected files. Only compatible drives will be shown.
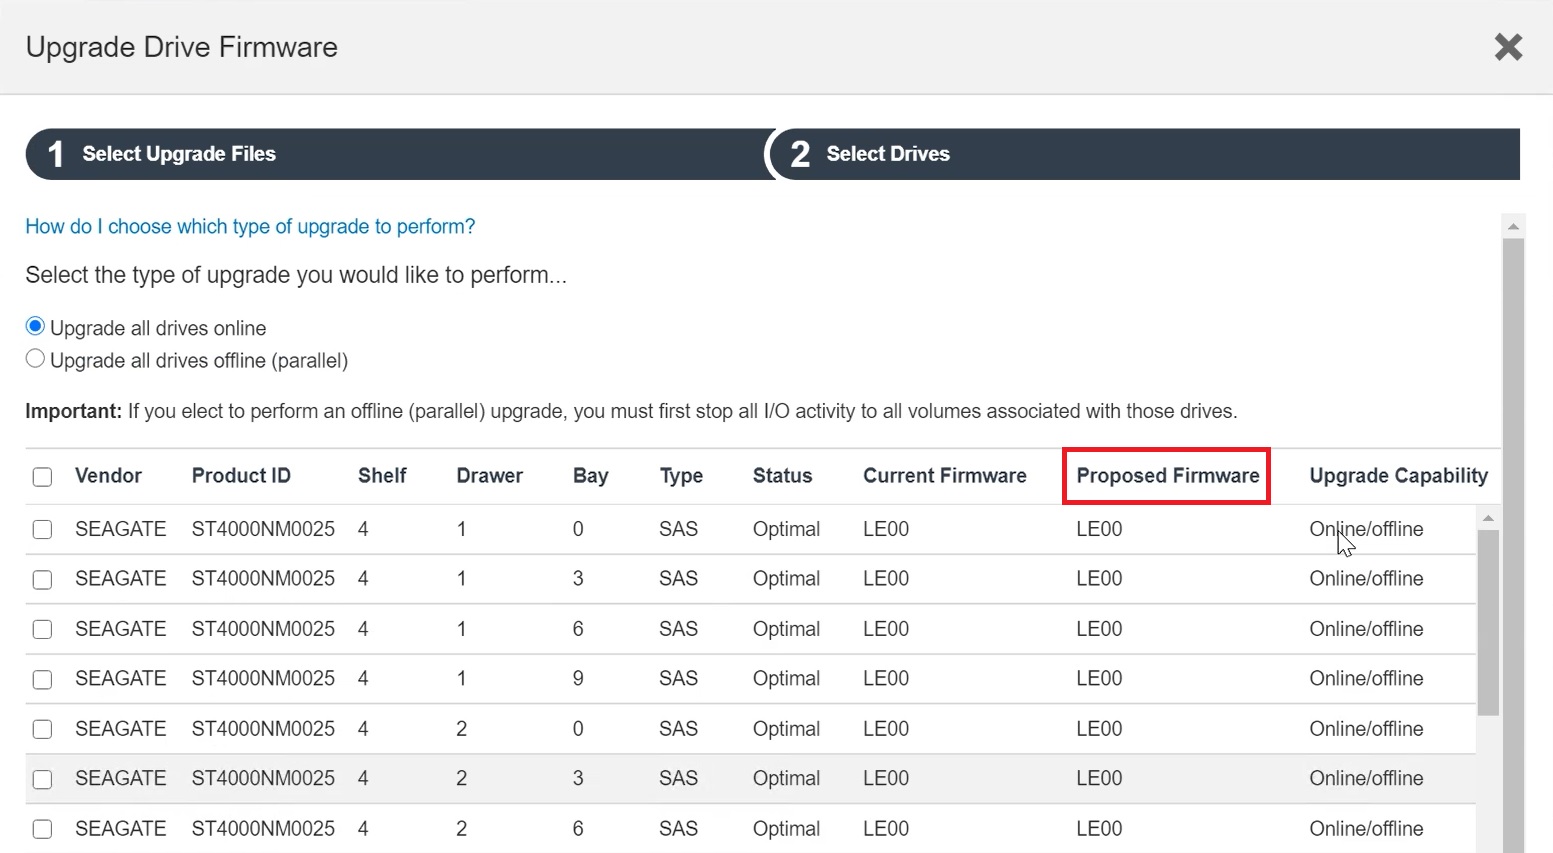
The selected firmware of the drives will be displayed in the Proposed Firmware column. If you want to change the firmware, click Back to return to the previous page.
- The supported upgrade methods will be displayed in the Upgrade Capability column. Select an upgraded method to perform the firmware upgrade.
- Update all drives online - Shows the drives that can support a firmware download while the storage array is processing I/O. You do not have to stop I/O to the associated volumes using these drives when you select this upgrade method. These drives are upgraded one at a time while the storage array is processing I/O to those drives.
- Update all drives offline (parallel) - Shows the drives that can support a firmware download only while all I/O activity is stopped on any volumes that use the drives. You must stop all I/O activity on any volumes using the drives you are upgrading when you select this upgrade method. Drives that do not have redundancy must be processed as an offline operation. This requirement includes any drive associated with an SSD cache, a RAID 0 volume group, or any pool or volume group that is degraded.
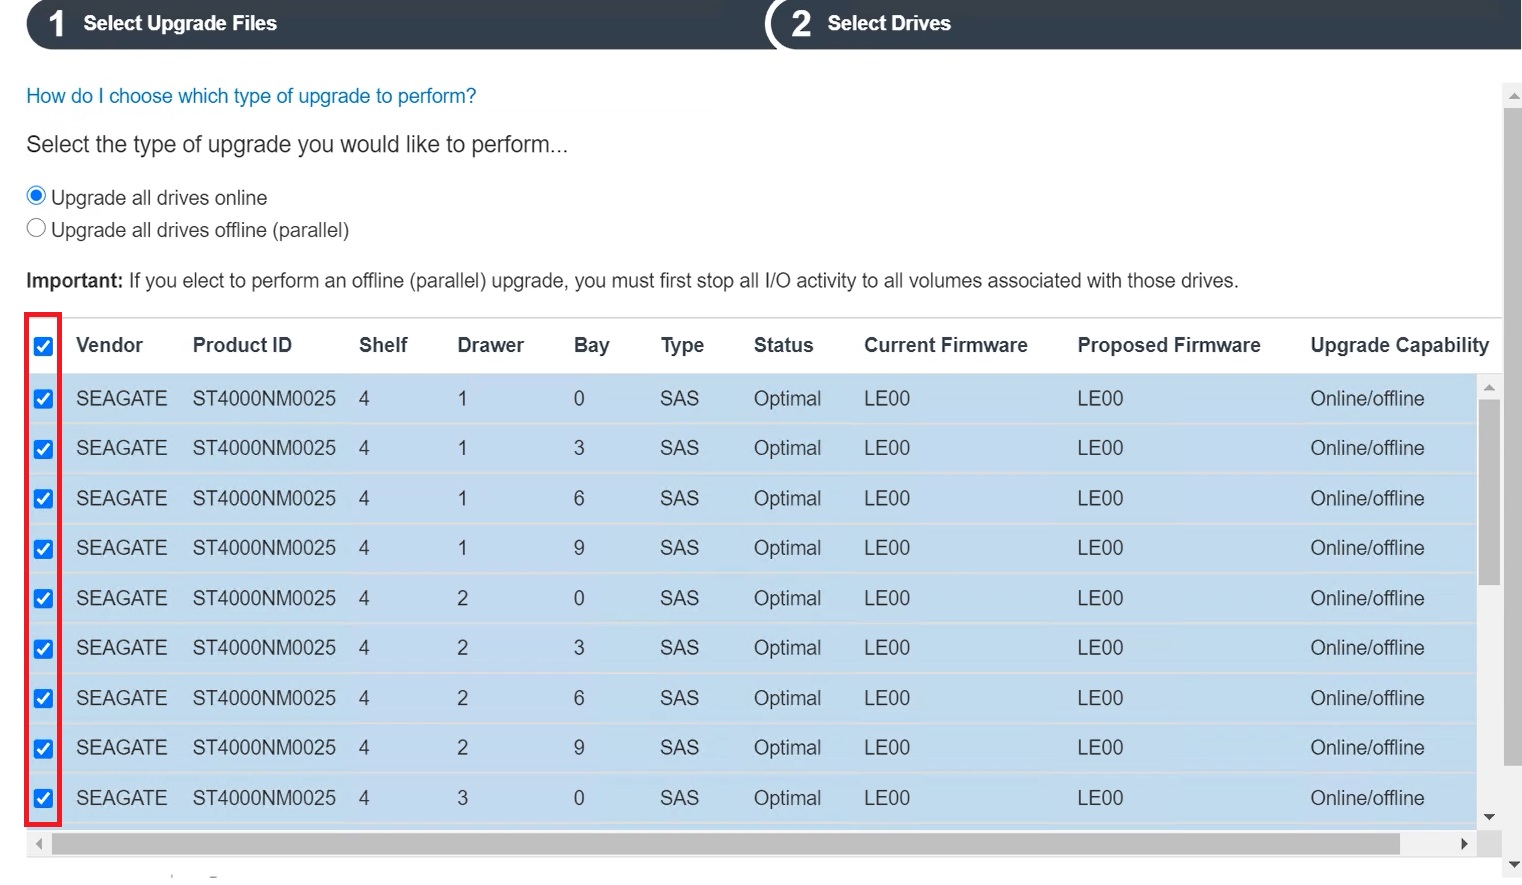
- Use the checkboxes to select the drives you want to upgrade.
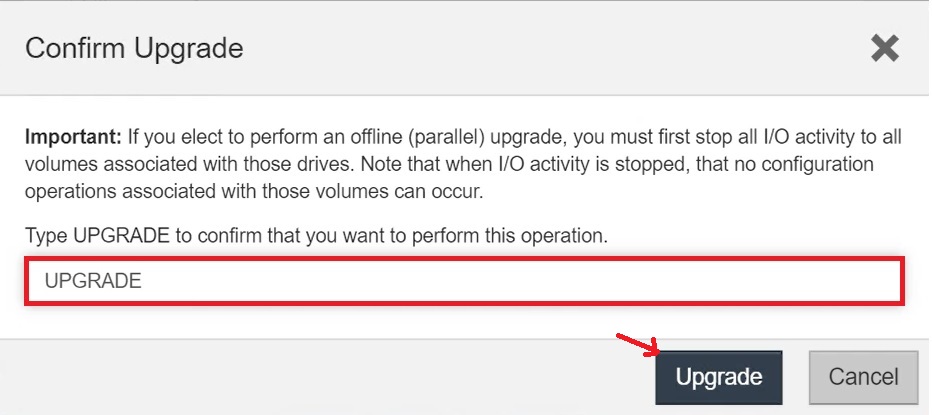
- Click Start. Type UPGRADE to confirm what you want to operate, and then click Upgrade.
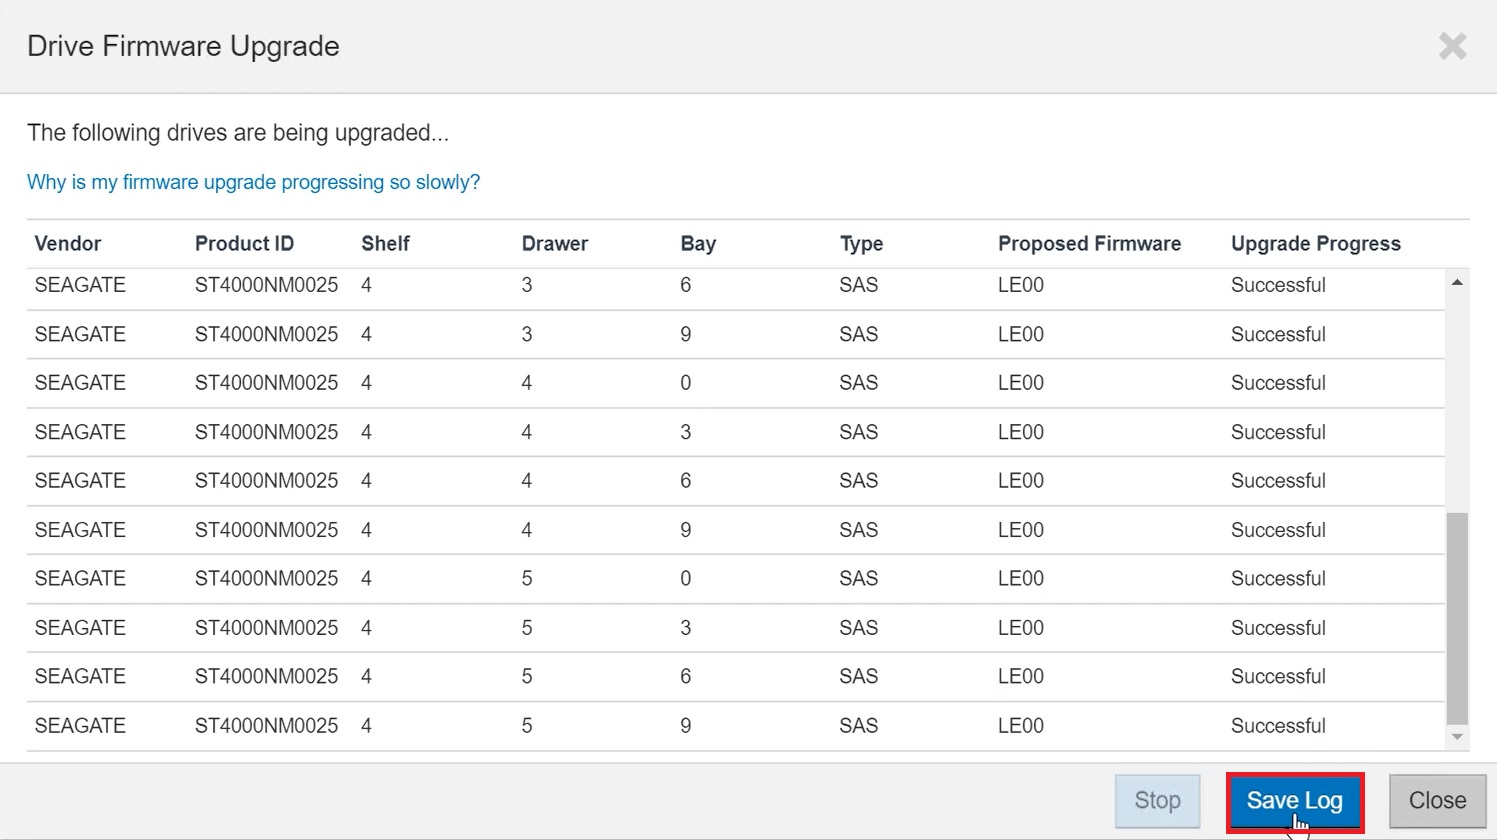
- The selected drives will be upgraded.
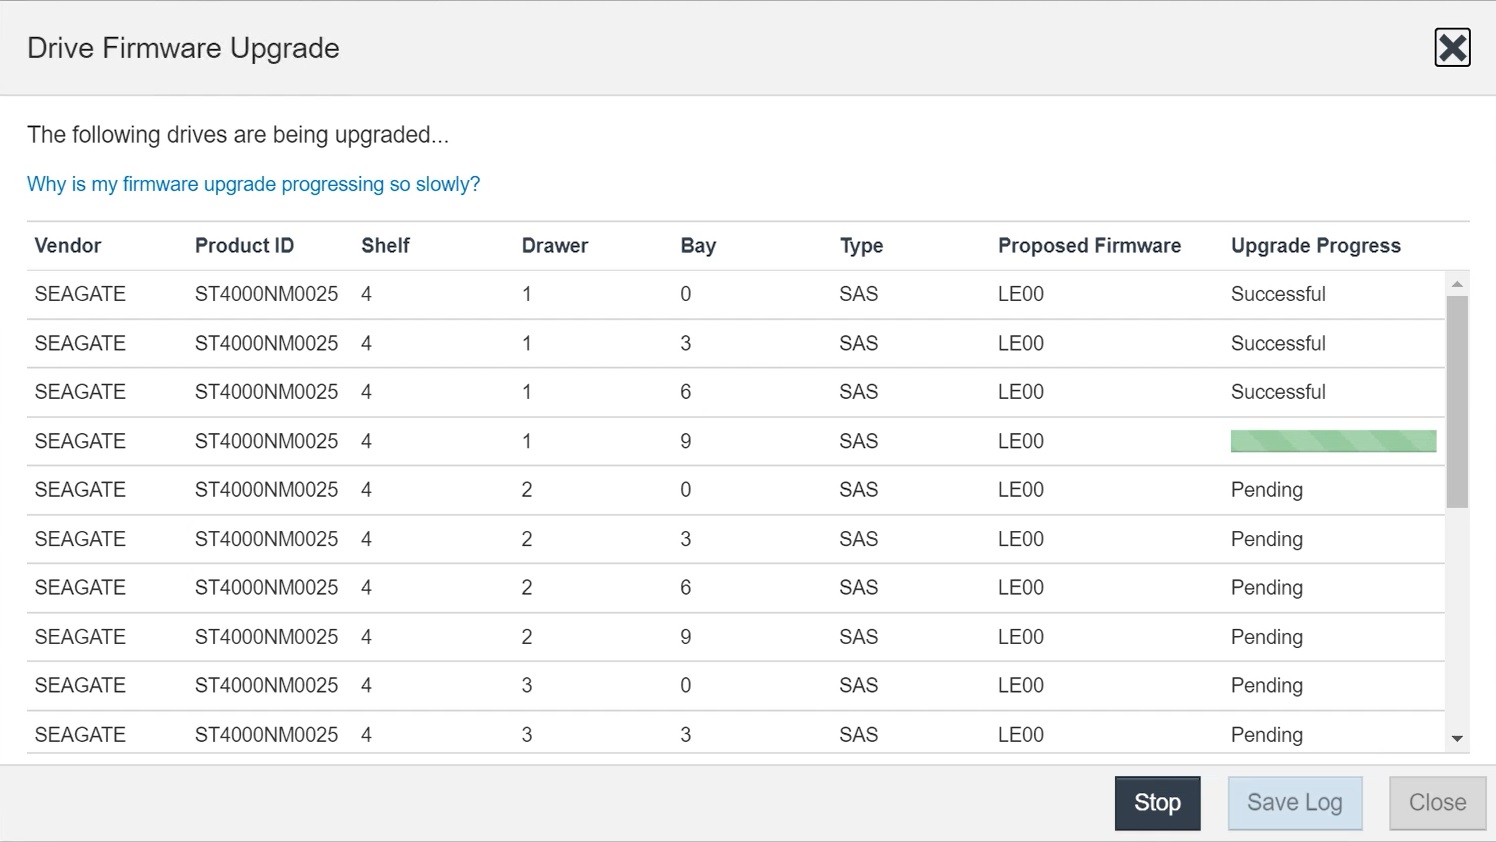
If you need to stop the upgrade, click Stop. Any firmware downloads in progress will be completed. Any firmware downloads that have not been started will be canceled.
CAUTION: Stopping the drive firmware upgrade might result in data loss or unavailable drives.
- To see a list of what was upgraded, click Save Log. The file will be saved in the Downloads folder of your browser and will be named latest-upgrade-log-timestamp.txt.
- If any errors occur during the upgrade procedure, follow the recommended action to fix the problem.
