How to upgrade a Lenovo switch using Lenovo XClarity Administrator
How to upgrade a Lenovo switch using Lenovo XClarity Administrator
How to upgrade a Lenovo switch using Lenovo XClarity Administrator
Description
This article introduces the procedure used to upgrade a Lenovo switch using Lenovo XClarity Administrator (LXCA). To use this procedure, the switch must be managed by LXCA.
Procedure
- Log in to LXCA.

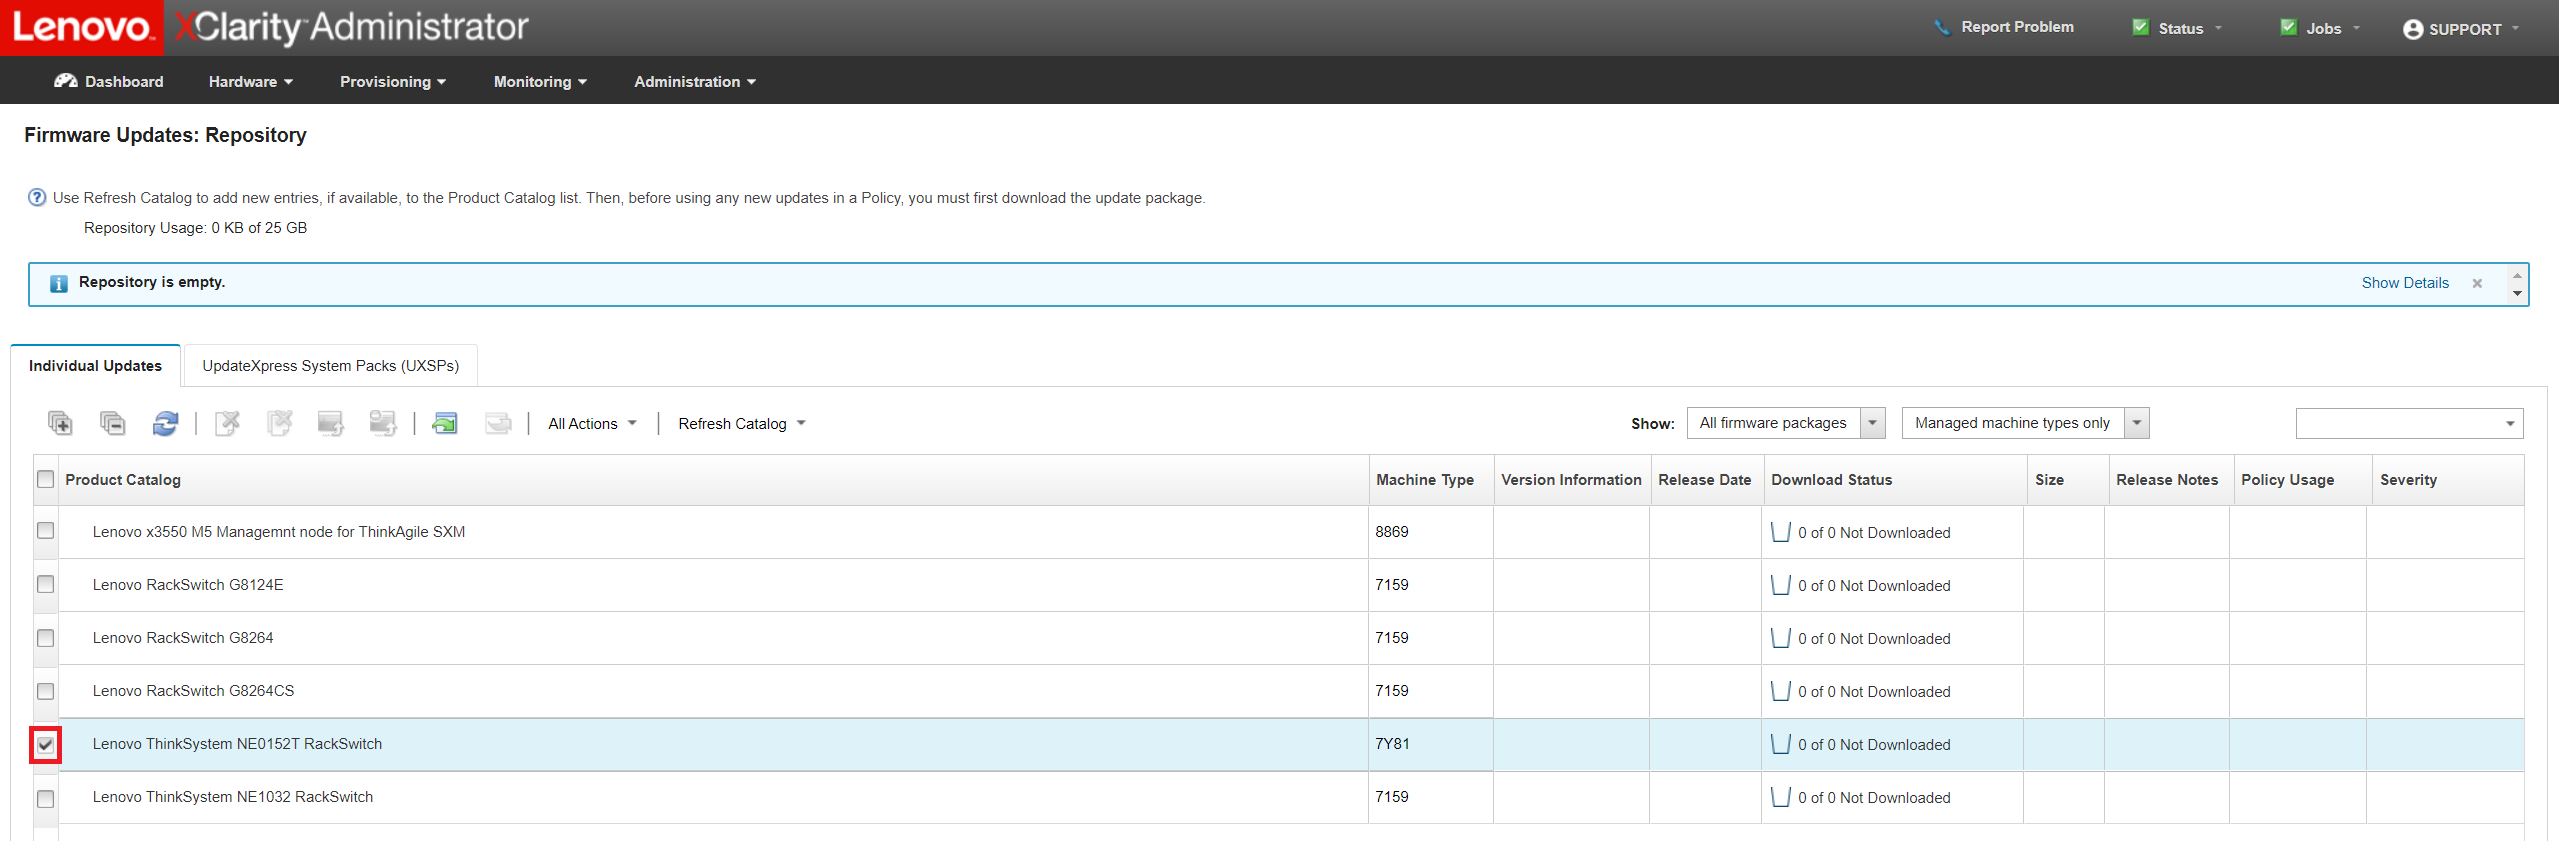
- From the Provisioning drop-down menu, select Repository under Firmware Updates.

- Select the switch model of the device you would like to upgrade.
Note: In this example, the Lenovo ThinkSystem NE0152T RackSwitch will be used. However, the process is the same for any switch type.
- From here, there are two options. Option 1 is to download the software you would like to install for this device and import the file into the repository. Option 2 is to click Refresh Selected – Latest Only under the Refresh Catalog drop-down menu.
Note: Option 1 will be set out in Step 5, and Option 2 will be set out in Step 6. - Option 1
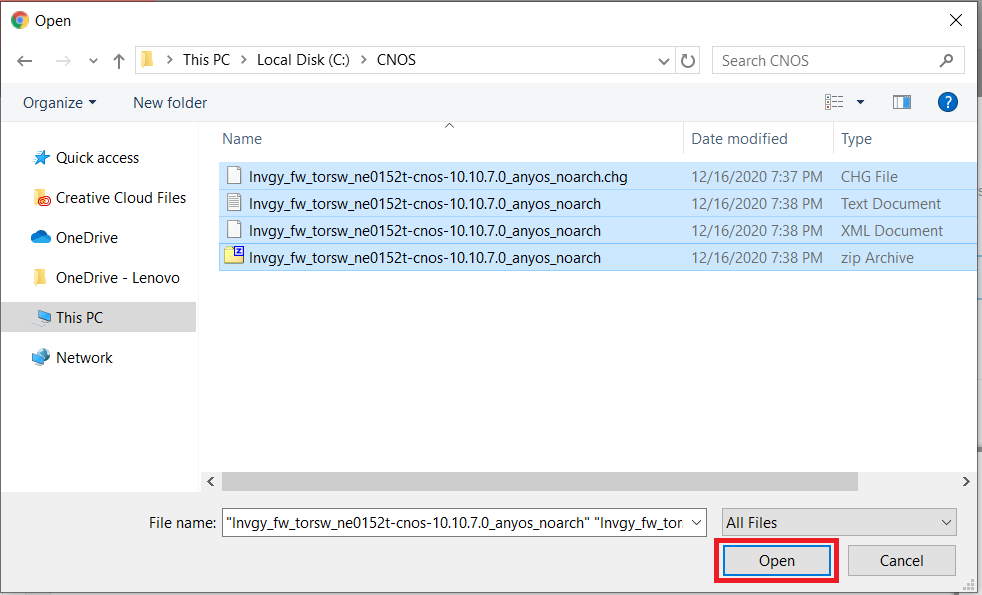
Note: For Option 1, you must download four files: an XML, a TXT, a CHG, and a ZIP file.- Click the import button.

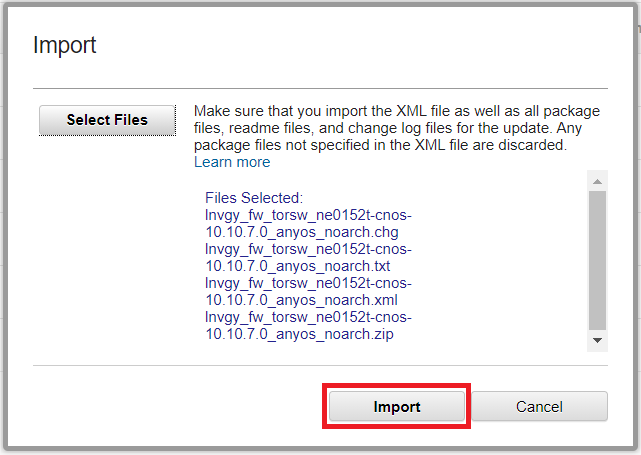
- A pop-up window will be displayed. Click Select Files.

- Using shift+click, select all four files. Click Open.
- Click Import.
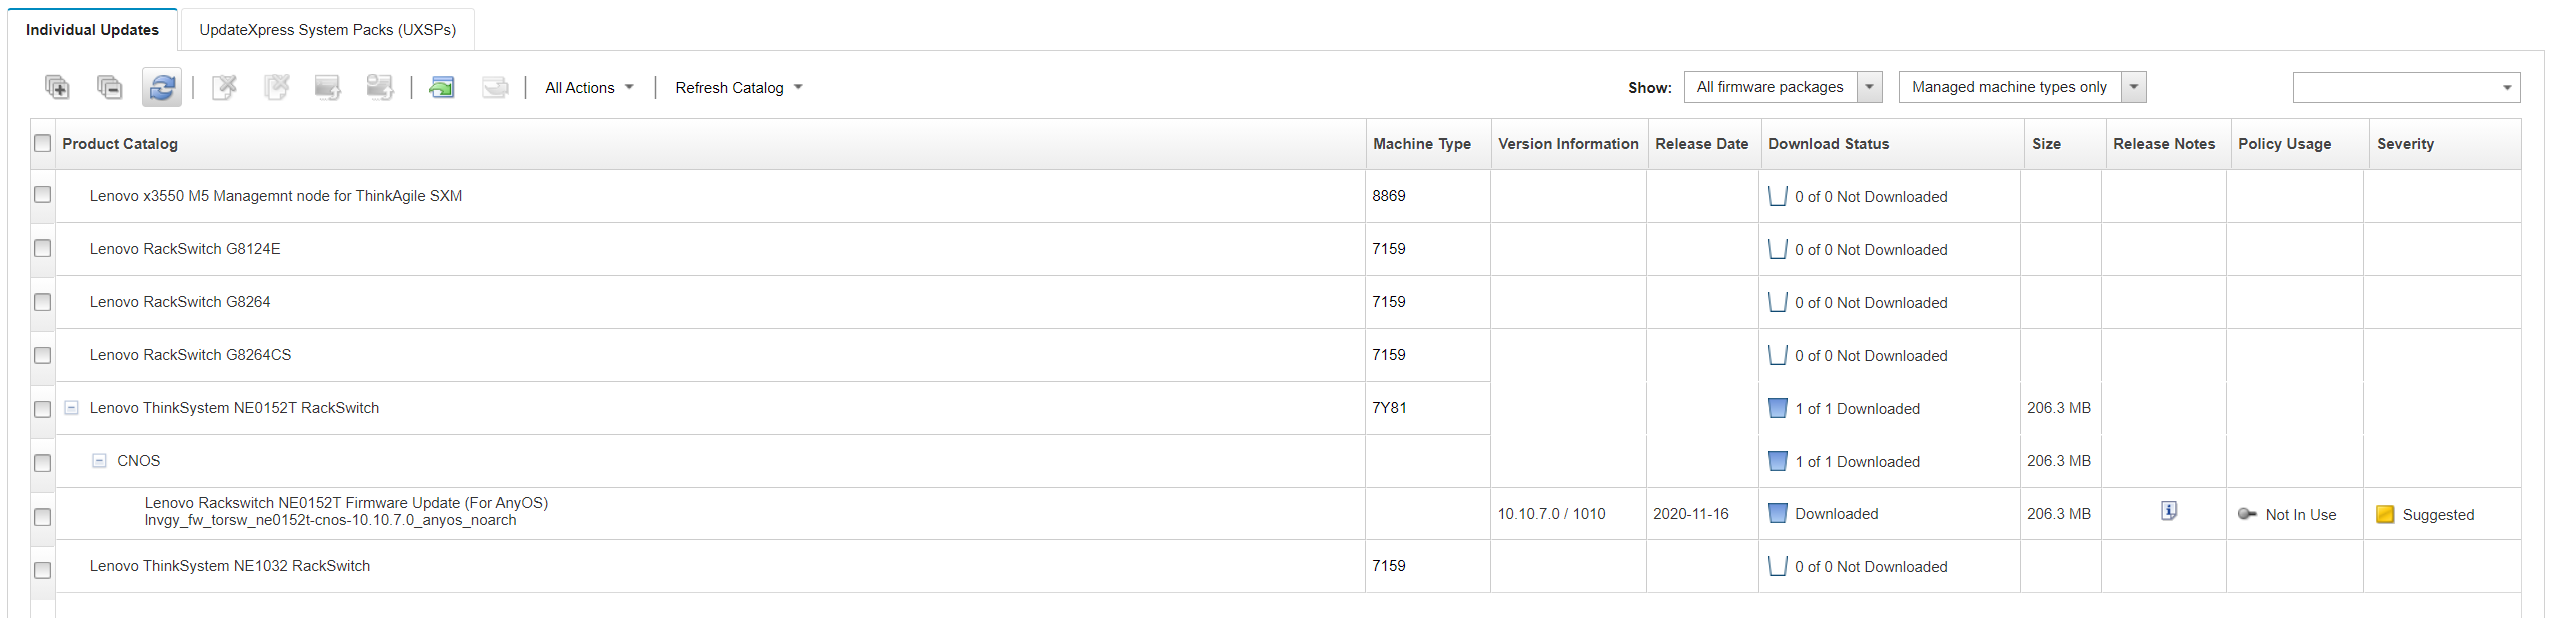
- When the files have been imported, you can expand the switch to see whether the file has been downloaded.
- Click the import button.
- Option 2
- From the Refresh Catalog drop-down menu, select Refresh Selected – Latest Only.
Note: This will refresh with the latest available code for this device. If you would like to install a different version, select Refresh Selected.

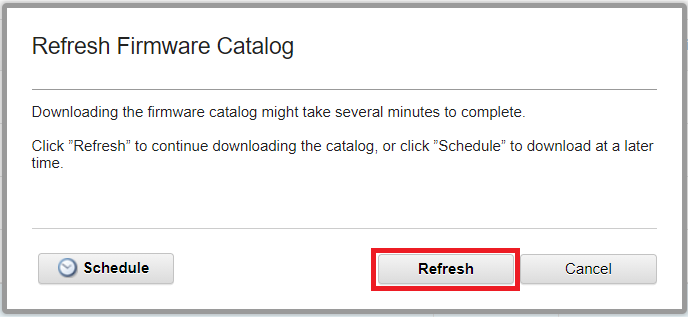
- A pop-up window will be displayed. Click Refresh.
- When the catalog has been refreshed, reselect the switch type and click the Download Selected button.

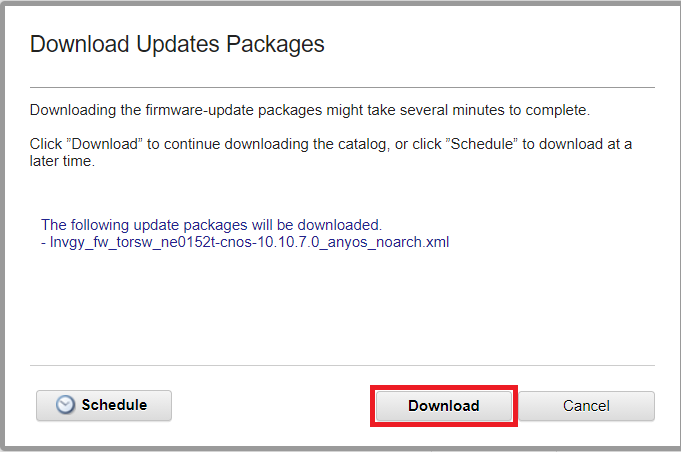
- A pop-up window will be displayed. Click Download.
- When the files have been imported, you can expand the switch to see whether the file has been downloaded.

- From the Refresh Catalog drop-down menu, select Refresh Selected – Latest Only.
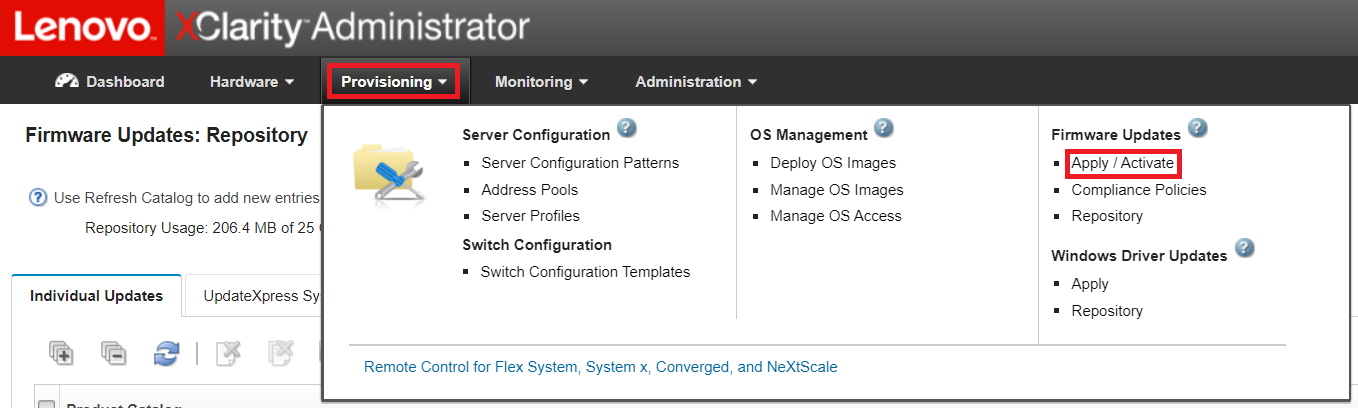
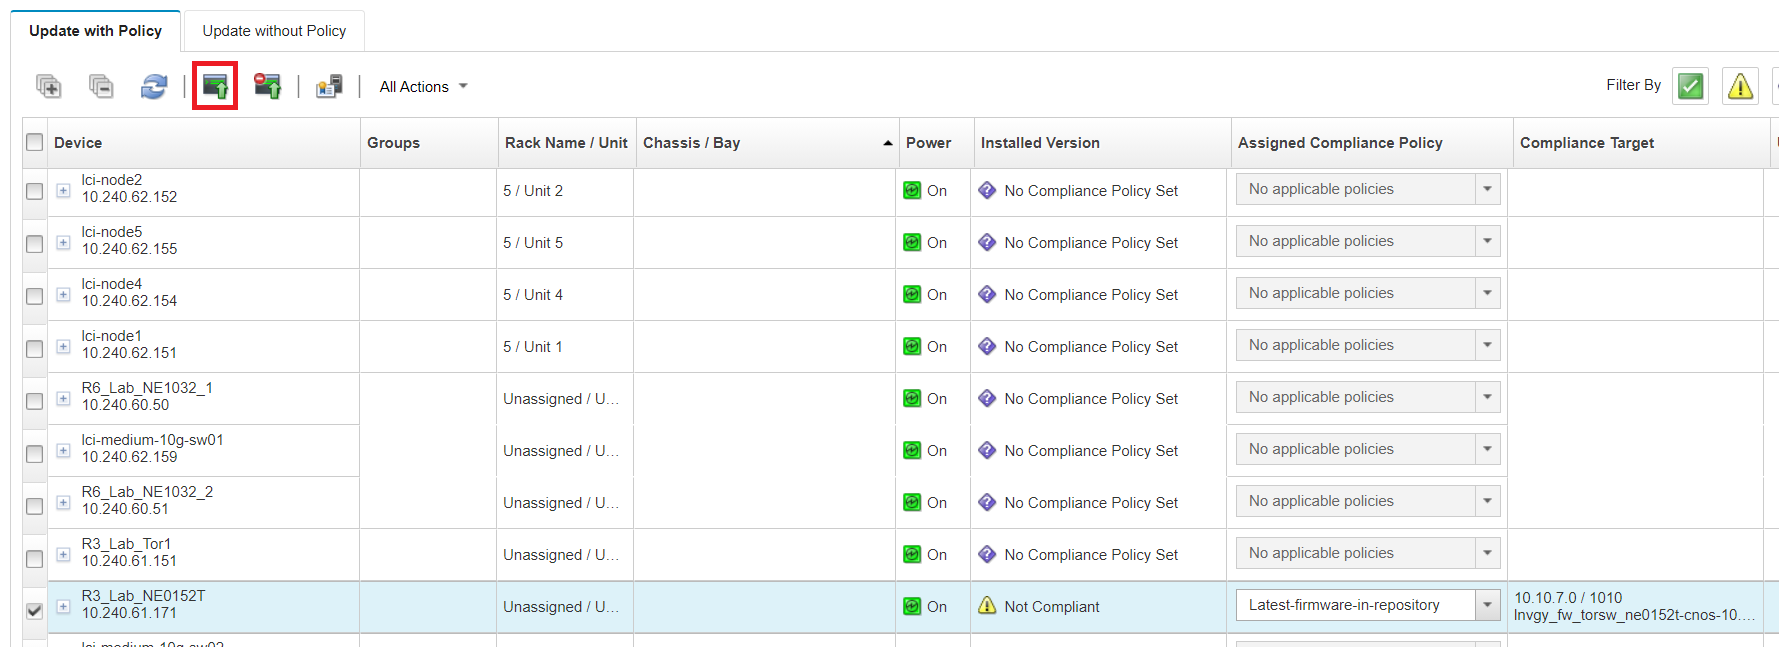
- From the Provisioning drop-down menu, select Apply / Activate under Firmware Updates.
- Select the switch you would like to upgrade and change the Assigned Compliance Policy to Latest-firmware-in-repository.
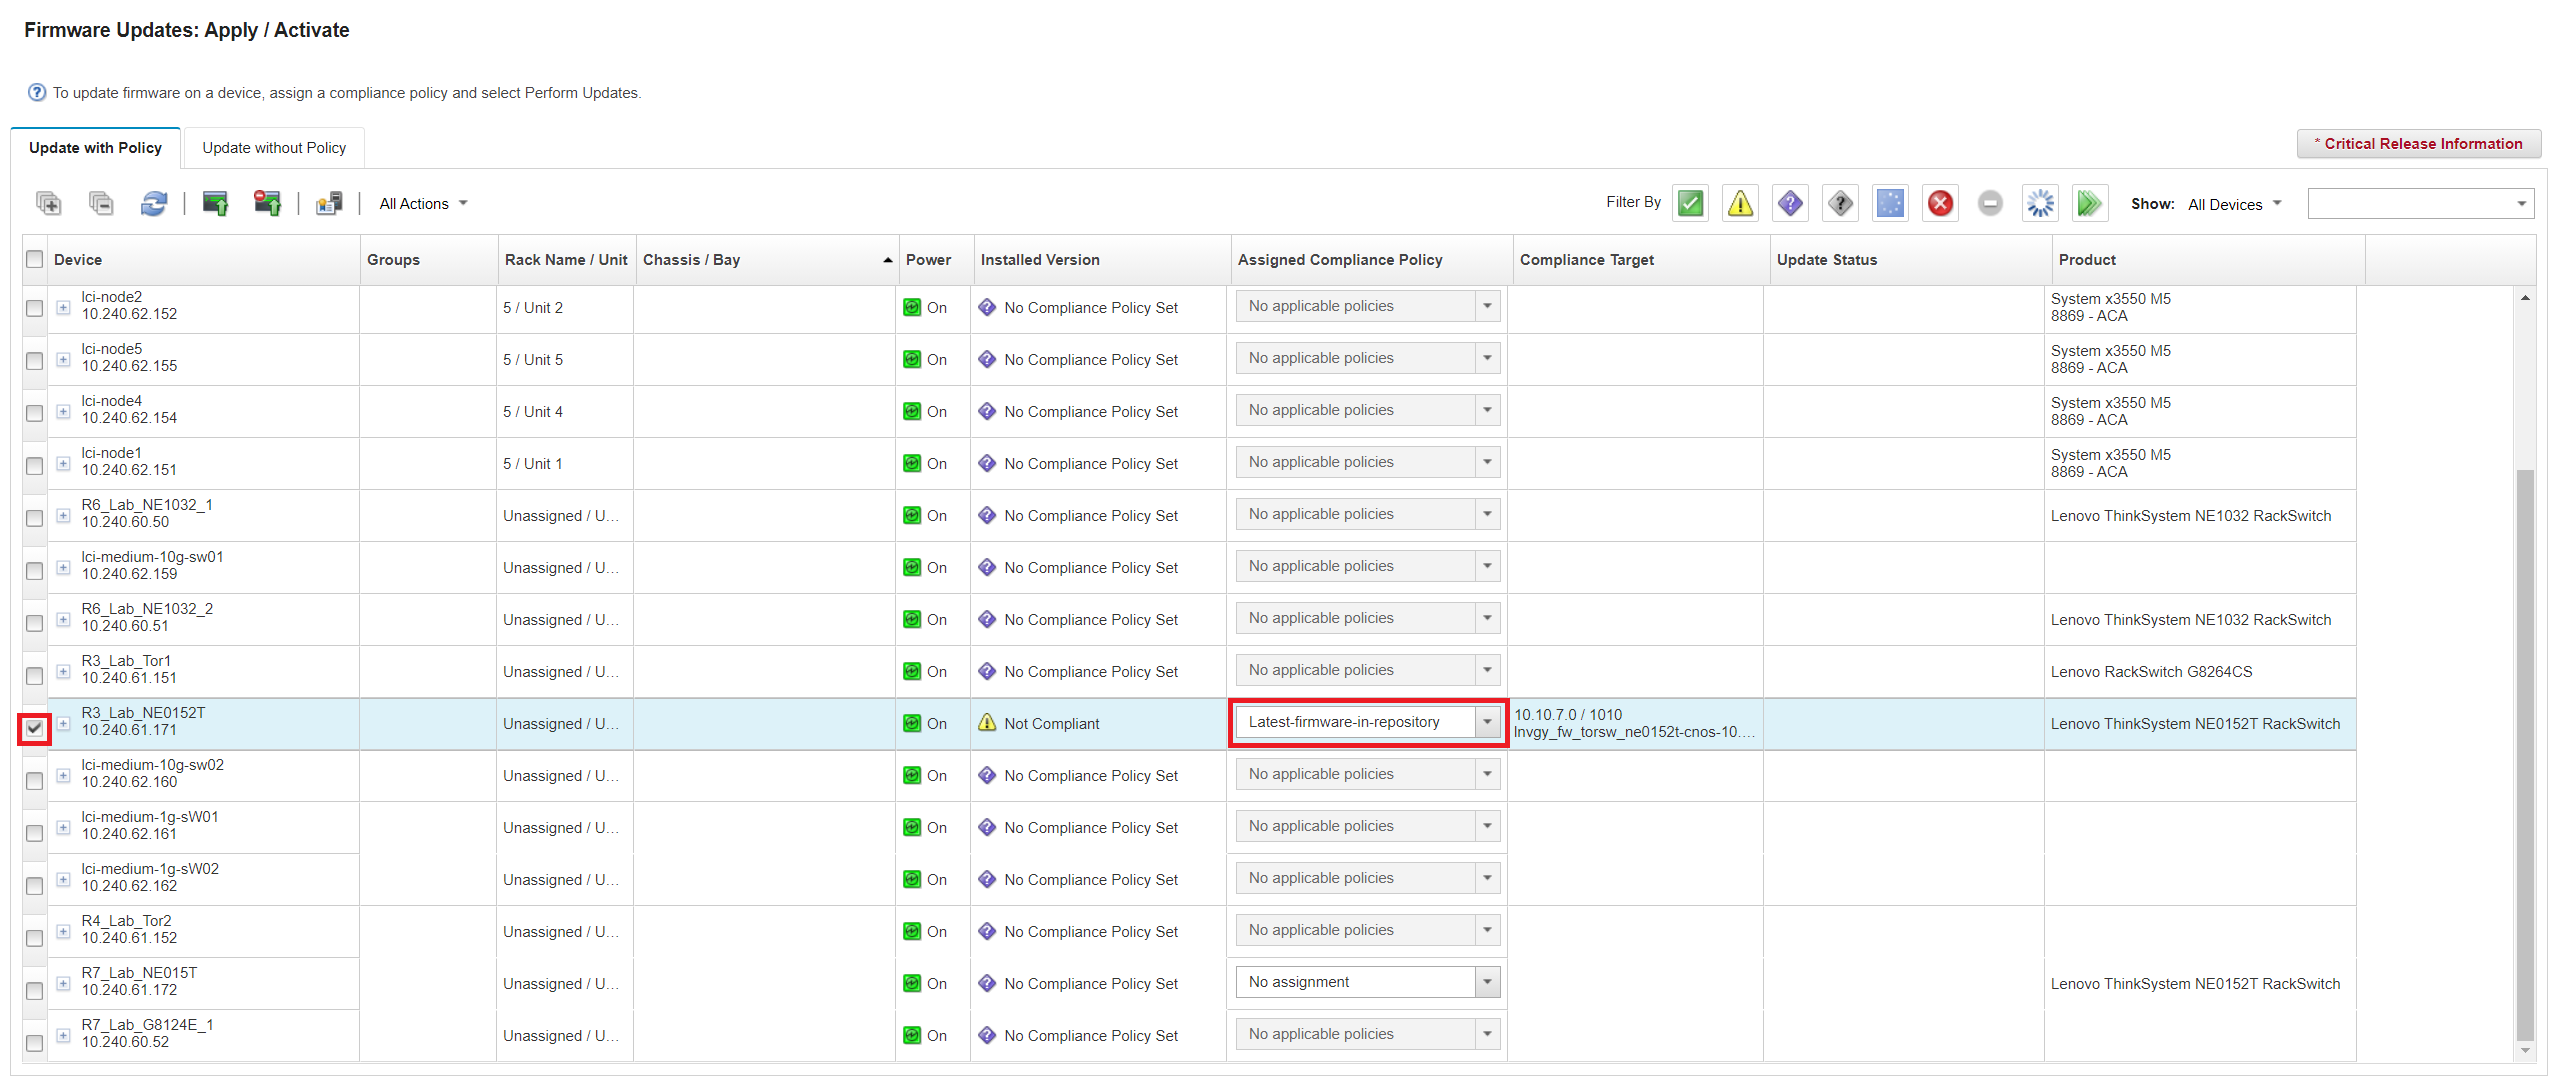
- Click the Perform Updates button.
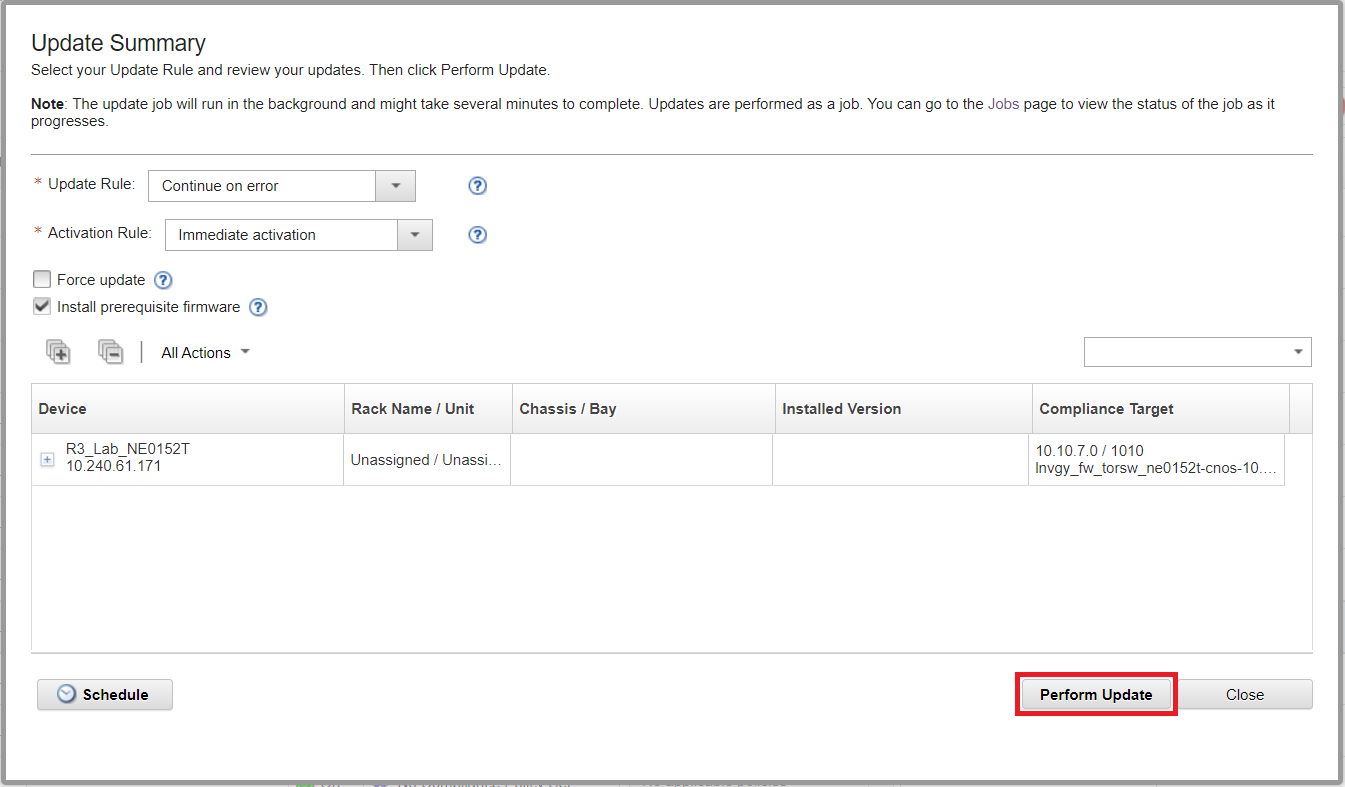
- A pop-up window will be displayed. Click Perform Update.
Note: LXCA will automatically restart the device to activate the software based on the default settings of the Update Summary. If you would like to delay the activation, change the Activation Rule to Delayed Activation. This will require the switch to be manually rebooted after the update is complete in order to apply the firmware.
Additional Resources
- How to Use Lenovo XClarity Administrator (LXCA) to gather RackSwitch log files
- Lenovo XClarity Administrator User's Guide
- How to open a support ticket for Lenovo Data Center products.
- Warranty Lookup
- How to upload a file to Lenovo Data Center support
- How to subscribe to Lenovo Data Center Group product notifications
- How to register your systems for Lenovo DCG Services
מזהה מסמך:HT511587
תאריך פרסום מקורי:12/18/2020
תאריך עדכון אחרון:01/26/2024
